GaWis administration tool
Installation
GaWis administration toolThis graphical interface supports all GaWis features and eases GaWis administration. Screenshot 1 shows the main page of the application. The user can access to six functions:
Screenshot 1
- main page
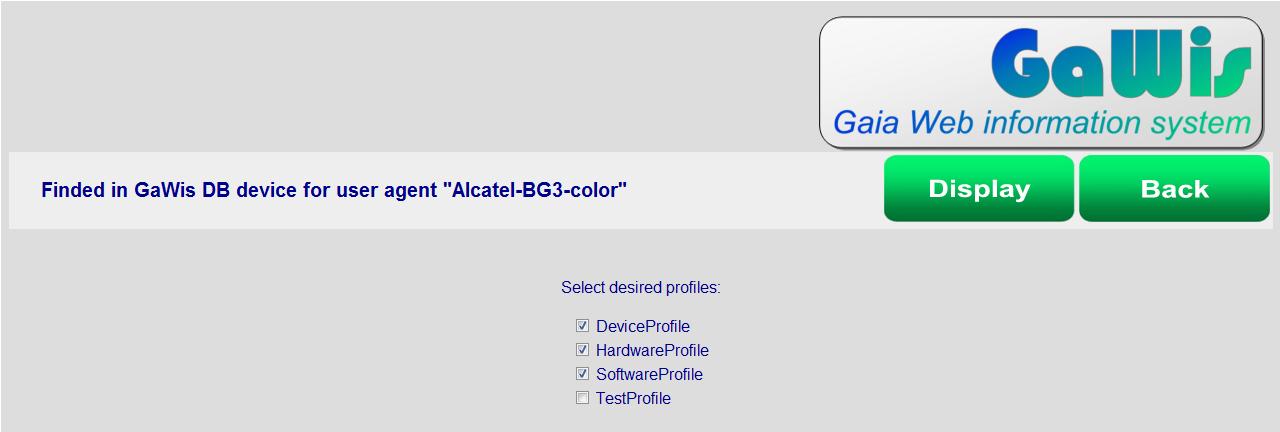
Find Devices in GaWis DB Screenshot 2 shows the interface when "Find Devices in GaWis DB" is selected. The user is allowed to select a user agent from the list of all user agents finded in GaWis DB. Once one user agent is selected, the user is allowed to click the "Search" button in order to select the profiles he is interested in (see Screenshot 3). Screenshot 2 -
search device
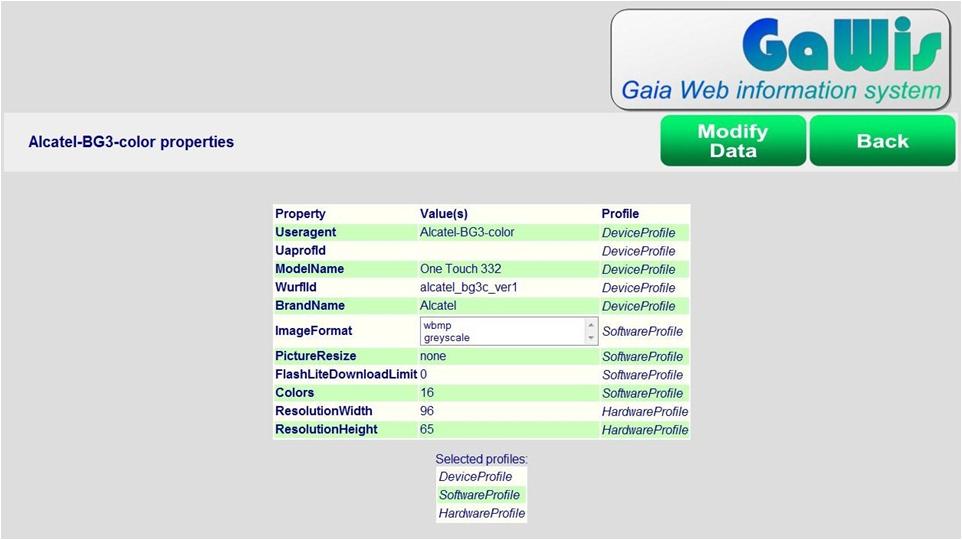
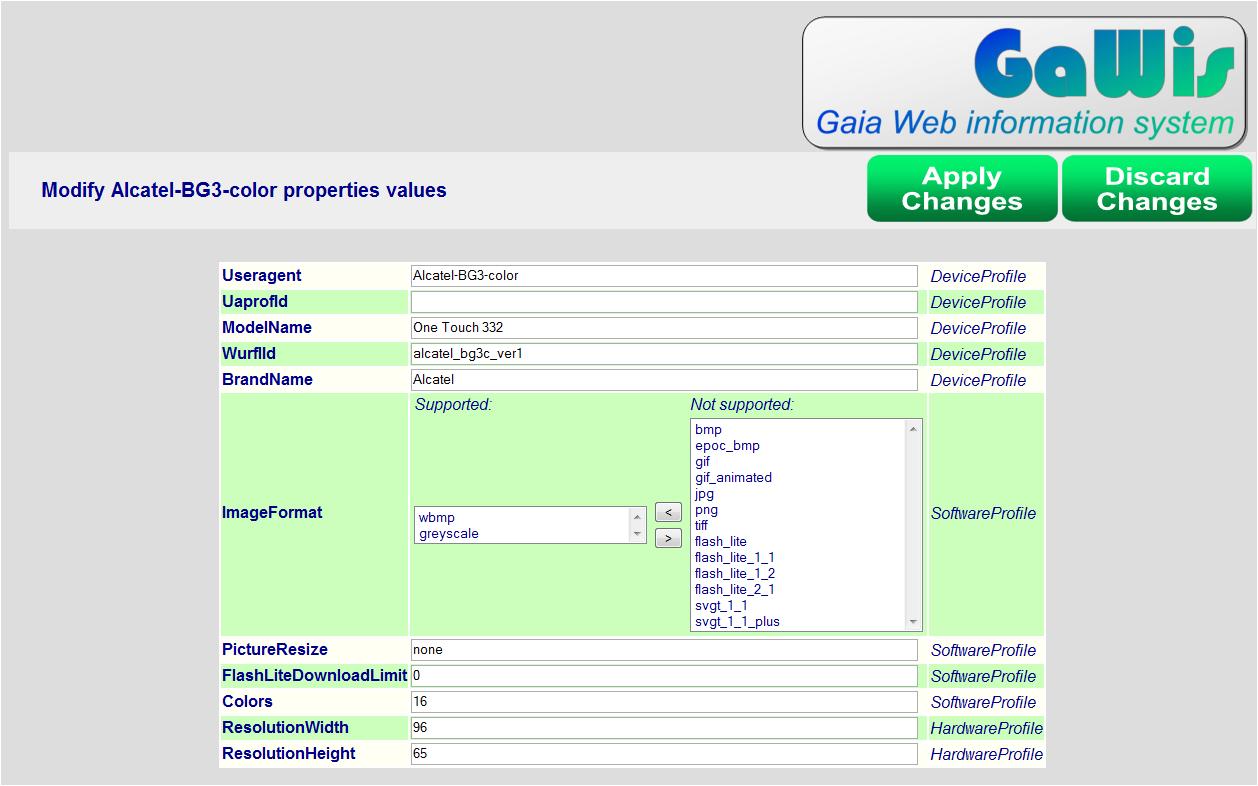
Screenshot 4 shows two grids. The device properties are displayed in the first grid; the second grid displays the profiles that were selected by the user. Now the user is allowed to go back and select other profiles (click the "Back" button) or to modify the data displayed by clicking the "Modify Data" button (see Screenshot 5). The form fields
are validated clicking the "Apply Changes" button and,
if inserted data are correct, GaWis updates the DB.
 Screenshot 5 - modify data Store Devices from standard sources Screenshot 6 shows the user interface when "Store Devices from standard sources" (see Screenshot 1) is selected. The user selects the source type (WURFL or UAProf) and specify the file location ("Browse..." button). If the user wants to store a device from UAProf then he has to specify a user agent identifier ("Insert user agent" input text box). Once that the source type and the file location are properly setted, device(s) data are loaded in GaWis DB by clicking the "Store" button.  Screenshot 6 - store devices from standard sources The form shown in Screenshot 7 is displayed when the user agent specified during the UAProf import operation equals a user agent already stored in the GaWis DB. By means of this interface the user resolves possible conflicts on data. 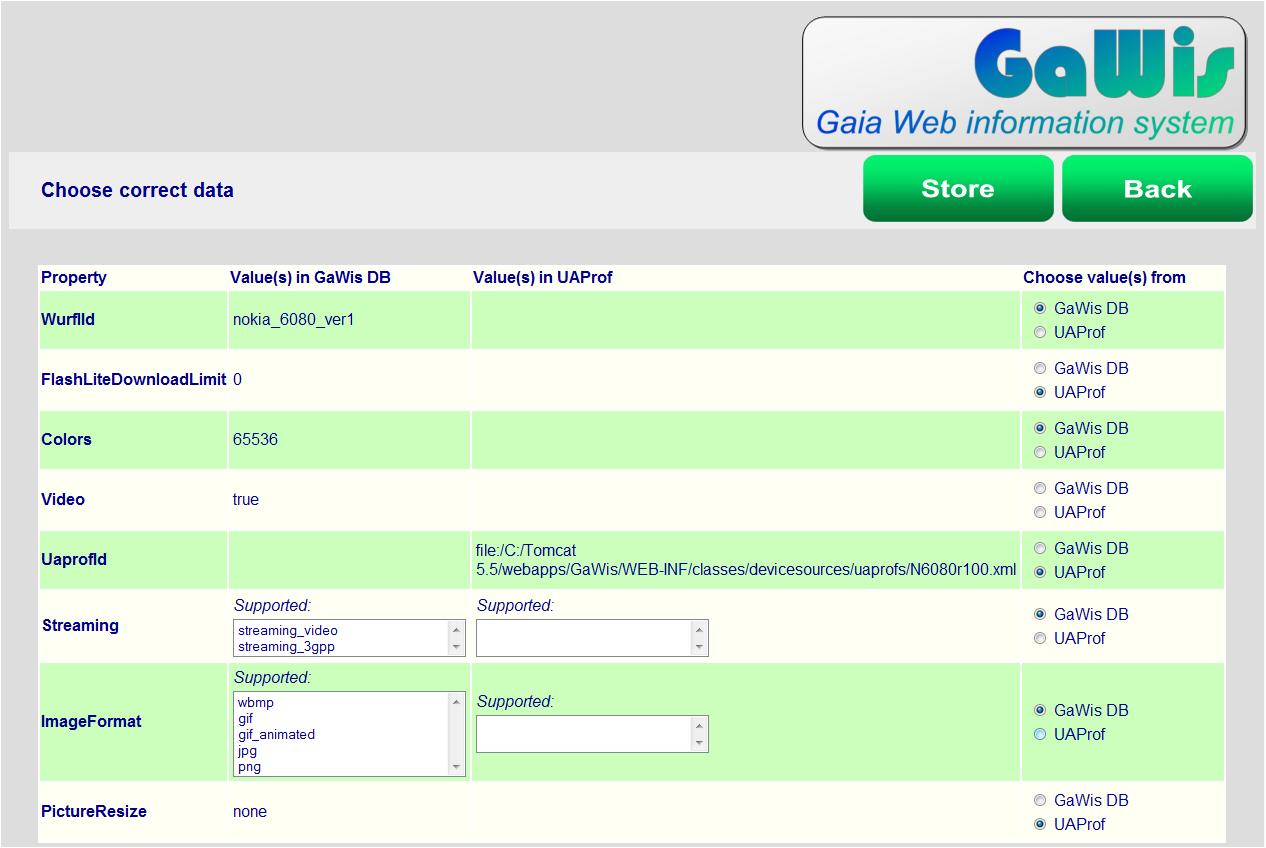 Screenshot 7 -
resolve conflicts on data
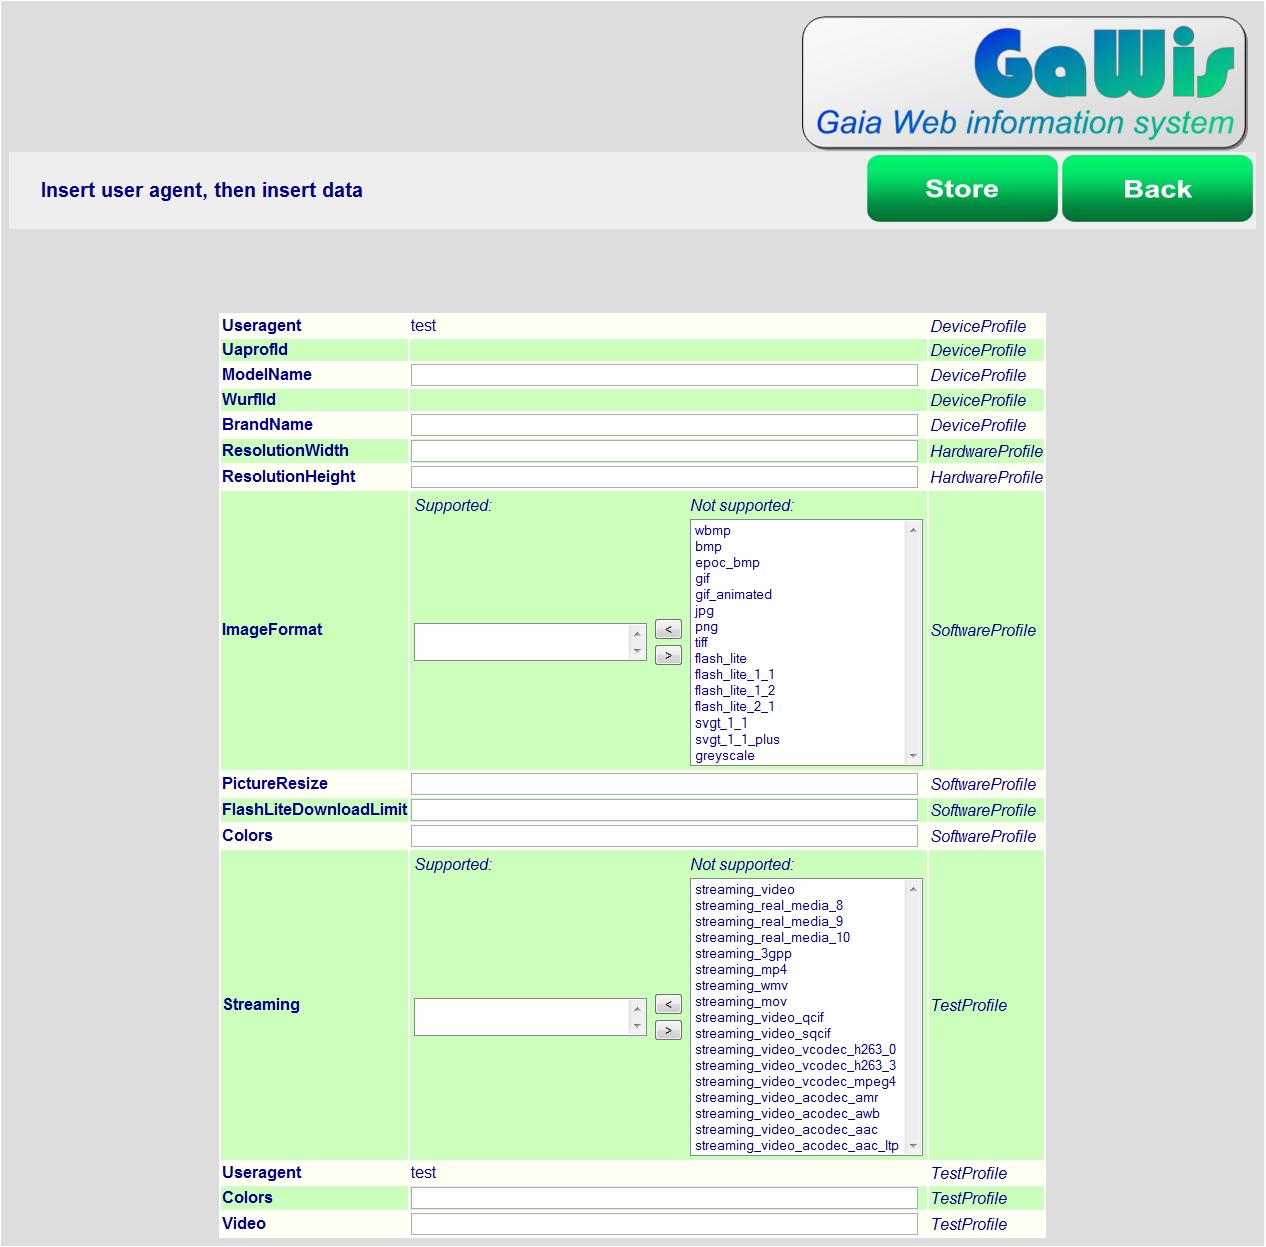
Store Devices from user's information Screenshot 8 shows the user interface when "Store Devices from user's information" (see Screenshot 1) is selected. The user has to specify a user agent identifier for the new device he wants to store in GaWis DB. Then he has to click the "Edit" button to get the input form shown in Screenshot 9. The form fields are validated clicking the "Store" button and, if inserted data are correct, GaWis stores in DB the new device defined by the user. Export devices in standard formats The user interface for export operations is shown in Screenshot 10. The user has to select devices he wants to export, the output format and the output directory. If WURFL option is checked, GaWis will produce a WURFL patch file (named wurfl_patch.xml) containing all devices selected. Instead, when UAProf option is checked, GaWis will produce one UAProf file (named <useragent>.xml) for each selected device. 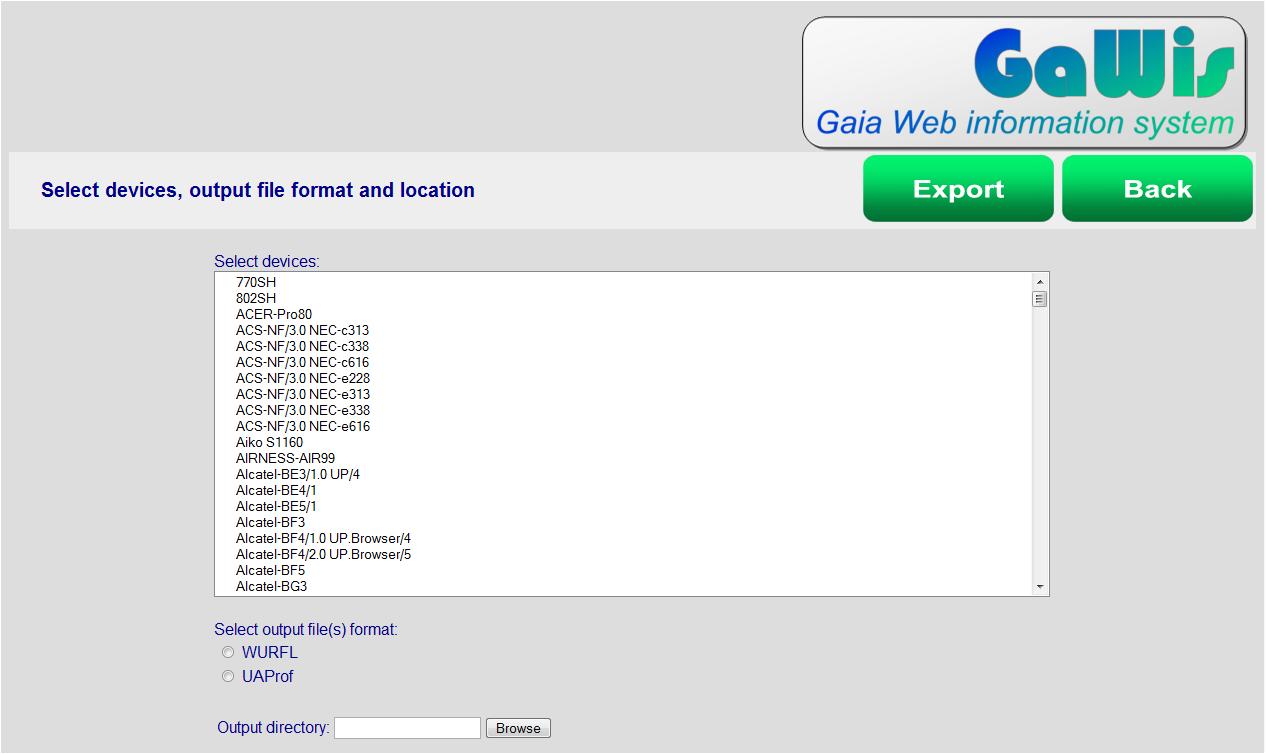 Screenshot 10
- export devices in standard formats
Remove devices from GaWis DB It is possible to remove one or more devices from GaWis DB through the interface shown in Screenshot 11. 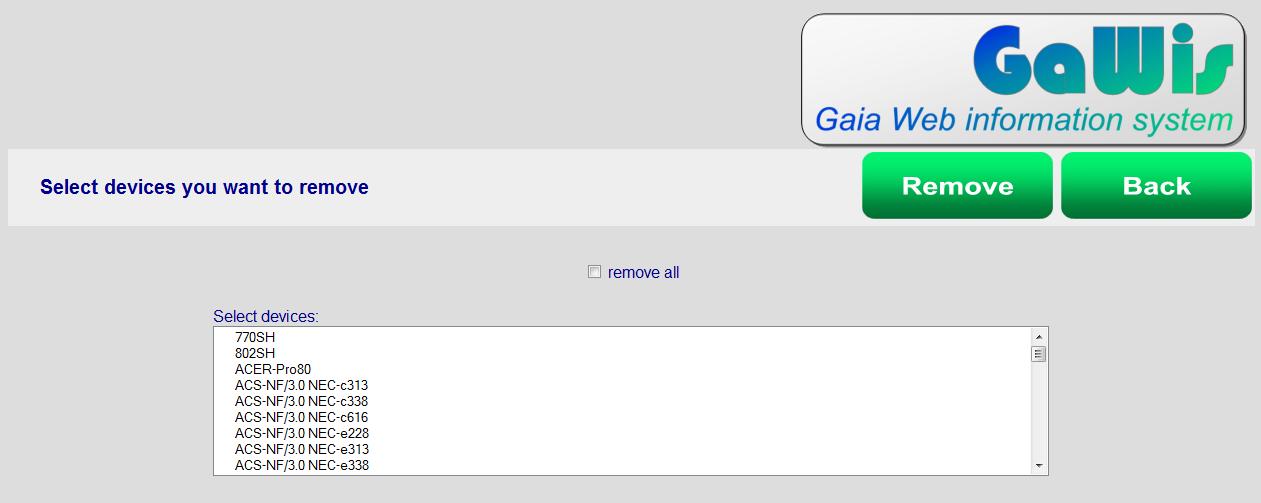 Screenshot 11 - remove devices from GaWis DB
View GaWis events log and statistics GaWis lets the user analize the GaWis events log (Screenshot 13) and the table of missing devices (Screenshot 14).  Screenshot 12 - choose GaWis logs or statistics
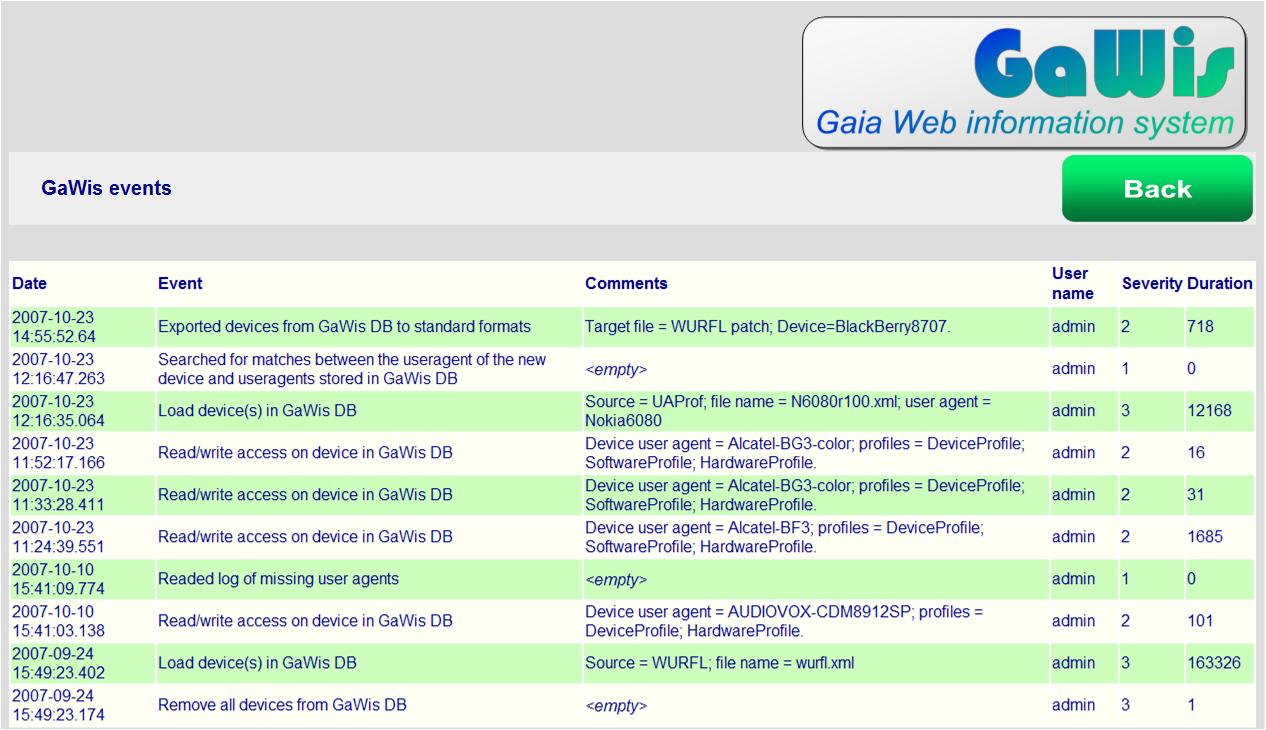 Screenshot 13 - GaWis events log
 Screenshot 14 - table of missing devices
The table shown in Screenshot 14 reports user agent and number of miss for each device has been searched through GaWis APIs and not found in GaWis DB. There are two options to manage missing device requests: you can choose to log the missing event or to create a generic default device for the requested user agent. Switching between the two options is done in Spring application context. The table of missing devices is updated only if the first option is activated. GaWis administration tool installation
If you are interested in more details about the release of GAIA Reply as Open Source software and want to join us in the development of GaWis please contact opensource@gaiareply.eu. For more information about GAIA Reply please visit www.gaiareply.eu. |


